Showing posts with label thrift. Show all posts

Thursday, February 16, 2017

Guest Room Update

Last fall we switched our daughter's room and the guest room around. It took me forever to get things to what I consider pretty well finished in the room and even longer to get the whole thing actually cleaned all at one time. :) Despite that, the results are great and I'm so excited to finally be able to show them off.


The bed is pushed up next to the wall just inside the door. I did this because we don't have guests super often and I wanted to make plenty of space for the office portion of the room. The dark gray stripe on the wall was yellow when our daughter used this room. I opted to paint it a dark glossy gray to keep the wall color fairly neutral.

 
I used a small folding plant stand for a side table as there isn't much room between the bed and the doorway.
 

I love me a good artwork wall for a focal point. I had all the pieces on this wall already.
 
 
This shelf was in the room when it was Maddy's. I decided to leave it because it works so well in the space. (For those wondering, yes, I did take it down to repaint the stripe even though I was very tempted to be lazy!)
 
 
Here's the desk and work space. I'm pretty pleased with how this desk looks in the space. This was the desk in my office uptown previously. It fits really nicely in here.
 
 
I found the chair at a local thrift store. It's just the right size for the space, and it swivels. It must have been repainted by someone at some point, but they did a nice job. It's very light gray in color.


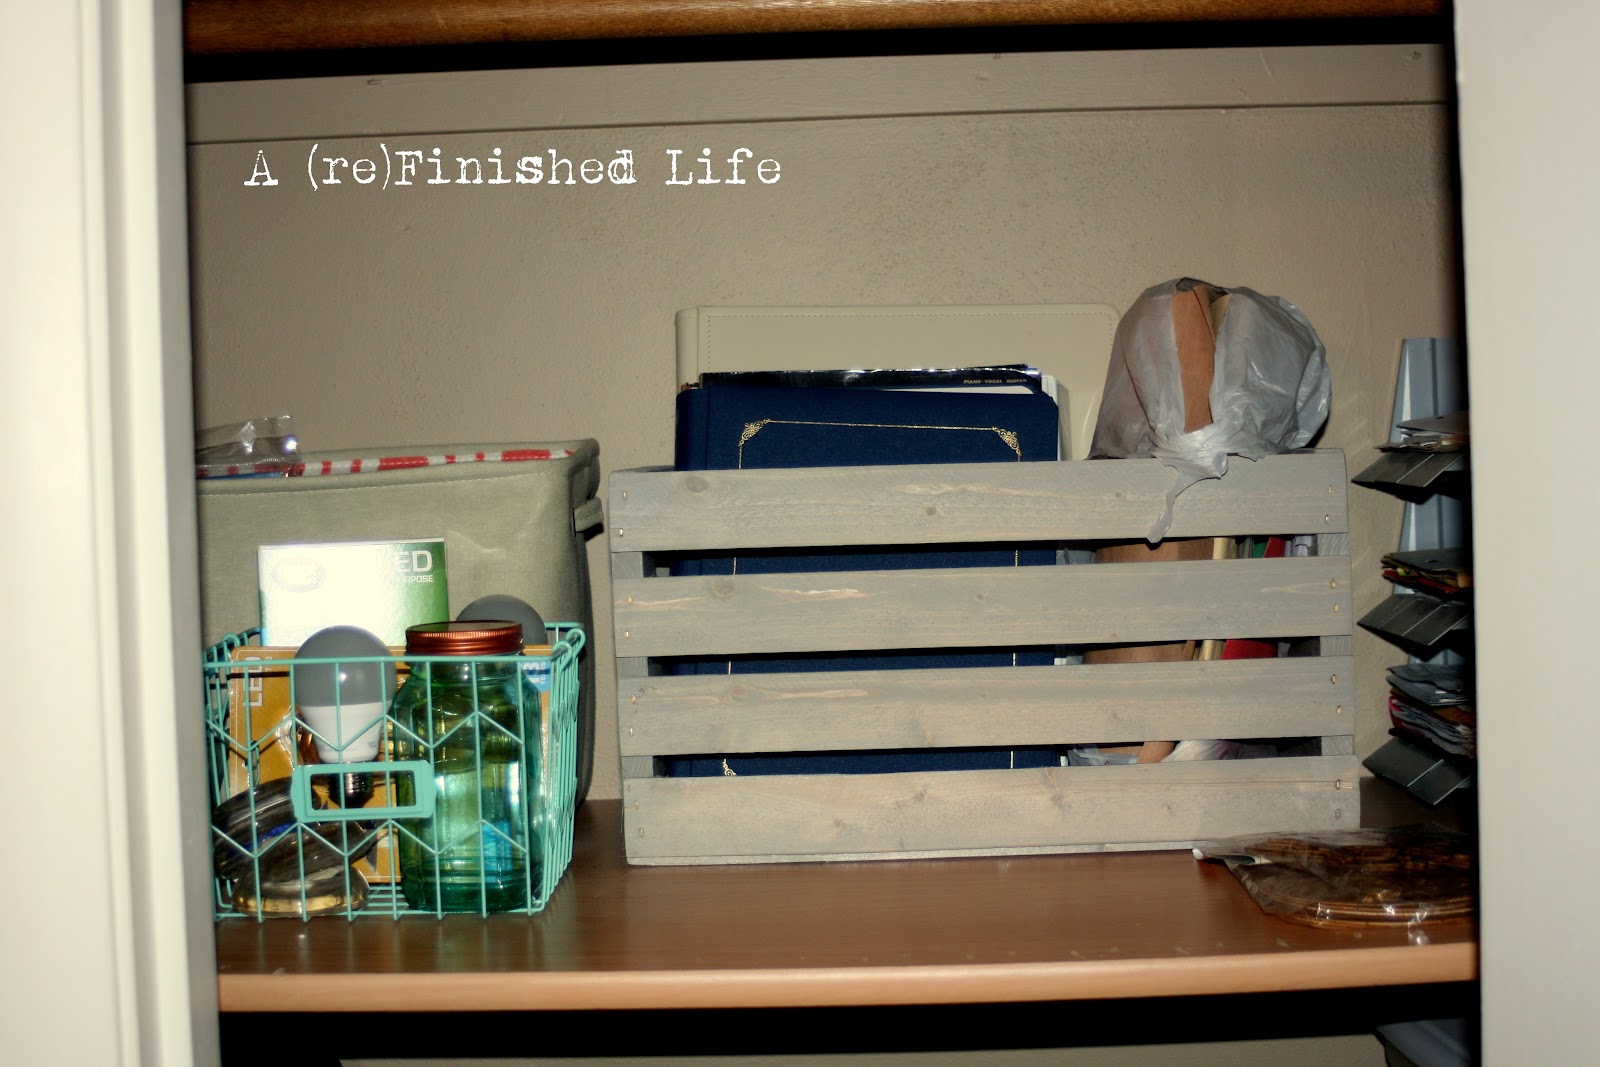
One of my biggest feats was probably reorganizing the closet! My Hubby cut an extra piece of closet shelf we had lying around and it helped immensely with the storage issues.
 
 
Another piece of furniture formerly from my office. It displays things pretty nicely along with the bookcases made from crates I snagged long ago at a garage sale.


That's pretty much the 360 degree tour of our guest room/office. I just hope I can keep it clean enough to actually work in here on a regular basis. Now, I'm off to drink some tea and edit future posts. Hope you enjoyed the tour!
 
Don't settle for dull, live a refinished life!

Saturday, October 15, 2016

Ceiling Fan Update

My husband recently put a ceiling fan in the guest room. It's a used fan, but it's a Hunter and really good quality. The only problem with it is that it looked rather dated. It has the 90's brass color and the shades were not really attractive. Here's what it looked like:


I apologize for the quality of these pictures. It was extremely difficult to get anything with the way the lighting works in this room.

I didn't mind the brass so much, as the room as some industrial notes. So, I opted to try changing out the shades and see what happens.


Such a difference with almost no work. I added a $2 bulb cage from the hardware store and an Edison bulb and look at the change!


I love the look!  It just goes to show you not every change has to be drastic in order to make a difference. I finally finished this guest room, so I will be doing a reveal of the whole space as soon as I figure out how to work my new camera flash. Hopefully, it will help these pictures turn out better.

Don't settle for dull, live a refinished life!

Saturday, November 28, 2015

Office Holiday Tour

I have started decorating for Christmas at home, but I only have the tree done so far. My office, however has quite a few up. So, I thought I would share those.

This year, I went with a theme for the tree.  I decided to go with the song "Sleigh Ride." 


Half view of the front of the office:


Here's the whole front view with a panoramic picture. It distorts the space somewhat, but gives a good idea of what is placed where. 

The waiting area chairs with some little trees.


I found this lovely iced garland for super cheap at the thrift store.


It's hard to get a good picture through the window due to the reflection, but I have a little bottle tree display along with a sleigh.


A little twig and light display:


More trees:


Coat hook snowflakes:


I love Christmas decorating so much! I can't wait to decorate the house and show it off! More holiday decorating to come!

Don't settle for dull, live a refinished life!

Wednesday, April 15, 2015

Gold Owl

Gold everything is all over Pinterest these days, so for the next couple days I thought I would post some gold projects I've done recently. (I promise someday soon, I'll show my craft area all nice looking!)

I found this great owl at Goodwill the other day:


I love this guy! But, he needed a little updating in my mind, so I broke out my trusty Rust-oleum spray paint and gave him a shine!


What do you think? I think he turned out pretty handsome. Come back tomorrow to check out another small gold project.

Don't settle for dull, live a refinished life!

Tuesday, September 23, 2014

Red and White Stencil Side Table


Hi. I'm finally getting a few projects done here and there that I can share with y'all. I bought this little gem for cheap at a local thrift store.


The doors were made with super flimsy press board and kept falling out, so I ditched them completely. I painted it colonial red by RustOleum and tried out my new stencil on the top in heirloom white. 


Add a cute gray fabric bin and this little beauty is ready for storage duty! 


I love it when a project turns out exactly like you envisioned, don't you?

Don't settle for dull, live a refinished life! 

Monday, September 22, 2014

Let it go!- The Crafter's Version

I have recently decided that maybe my husband's right. (Don't tell him I said that!) I have too much craft stuff. I know, I know, I just shocked you with that statement. There's probably a few of you saying there's no such thing. I used to feel that way too.

But after the flooding our basement endured earlier this summer, I was forced to throw out some supplies that were ruined. Then, I had to haul all my stuff upstairs to the garage. Which made my husband mad to see how much stuff was actually there. 

I'm now in the process of bringing stuff back down into the basement. *sigh* That's  the point when I realized I will never ever use all of this stuff. As much as I would love to, it's not all going to happen (unless for some reason we miraculously won the lottery and I can quit my day job and hire a nanny).

I've also come to the not so good realization that I've spent a lot of money on objects that are just sitting here in my basement (or garage). Dang, yo! I've got to do something about that. 

So, I'm sorting through things. Things I think are worth something but I don't think I'll use in the next 6 months are getting sold. Things not worth a lot that I don't think will get used in the next 6 months are getting donated (either to other crafters or to the thrift store). 

I need to do this both to lighten my load and possibly recoup some expenses. I also am trying to organize what I'm keeping as I go. That means finally trying to decorate my craft area while I'm at it. 

That part of this whole ordeal has got me excited! I painted my peg board yesterday and it is cute! Hopefully, I can share some in progress pics of that soon.  You can check out some of my ideas for redoing this space here

What about y'all? Do you feel the need to let stuff go? Or are you a keeper? (I'll admit, I'm finding it hard to part with some things!) If you want to check out the few things I've got selling right now, You can see them here.

Don't settle for dull, live a refinished life!  

Wednesday, August 13, 2014

Pinspiration #4: Sprucing up the Master Bedroom


I found a new duvet cover for our master bedroom a few weeks ago. That, combined with a cleaning spree convinced me that the room needed some sprucing up. So, I immediately started a Pinterest board for inspiration.

I decided to start with this idea:


I found some frames already in the perfect color at the thrift store. They were $3 a piece, but I figured it was worth it not to have to paint them.  I bought letters and an ampersand at Walmart. I spray painted them chevron using my shape tape Frog Tape. I used Heirloom White and Sunshine Yellow, both Rust-Oleum colors. I decided the white and yellow were hard to distinguish, so I outlined them with a Sharpie.

Here's the result:


Here you can see them over our headboard:


I love the result. I will be doing a few other things to spruce up this room over the next couple of weeks. I want to get the guest room finished first.

Don't settle for dull, live a refinished life!

*I was not paid to endorse any of the products or stores mentioned above. I just happen to use those products and stores. 

Wednesday, July 30, 2014

Garden Mushrooms


I saw this idea somewhere (can't recall where exactly now) for making garden mushrooms out of upside bowls and vases. I thought it would be fun to add some to my garden.


I thought they added a fun bit of whimsy to the garden. They were super easy to make. I just found various bowls and vases at the thrift store and glued them together using E6000. I've had them outside through several rain showers so far and they've held up great. Have you used any ordinary objects to decorate your garden lately?

Don't settle for dull, live a refinished life!

*Planning to share at: Metamorphosis Monday Made by You MondayTime To Sparkle Tuesday Linky Party;  Whatever Goes WednesdayWildly Original Linky PartyClever Chicks Blog HopSerenity Now Weekend Blog Hop

Friday, September 6, 2013

Teal Pheasant

I found this pheasant at the thrift store. I thought, "it's no peacock, but it'll do."


A little spray paint later:


Now I have an awesome accessory to put in my guest bedroom. I've got several projects in the works for this. I also ordered new bedding which should be here next week. I am so excited to show off some things for this project!!

Don't settle for dull, live a refinished life!

Friday, July 19, 2013

Rocker Chair Cover

This is one of my "spruce up the house for company in a week" projects. This rocker in my living room had ugly, and I do mean ugly green corduroy on the cushions.

Here's the ugly:


And here's the pretty: (or at least the not so ugly anymore.)


I used a curtain I got at the thrift store for a dollar. The sewing was pretty easy, I just measured the cushions and winged it a little. The back is just a rectangle sewed in half. For the bottom, I traced the shape of the cushion and added a bit for seam allowance. I cut two of those and then a strip to go around the side and sewed it all together.

I wish there was time to do my whole couch this way. *sigh* Stay tuned for other projects throughout next week.

Don't settle for dull, live a refinished life!

Thursday, July 18, 2013

Wedding Gift Reprised

Remember this post where I took an old print and made a wedding gift? I have two more weddings coming up, so time for more projects!  I bought this print at a thrift store, complete with Kmart sticker still on the back.


I cut letters with my Cricut out of contact paper. This time before I put them on, I sprayed a light coat of clear sealer over the print. Last time I did this project, the print was glossy. This time it was a light paper and I wanted to be sure I could peel the letters off.

I painted the print, peeled off the letters, painted the frame, and put it all back together. Here's the final result:


I love how it turned out this time! Last time, the colors of the print were more subtle, this time they are bright and fun. Perfect for the couple I am planing on giving this to.

I have lots of projects I will be posting in the next week. We are planning on having a big family get together at my house in less than two weeks. I am sprucing up like a mad women before that happens.

Don't settle for dull, live a refinished life!

*Planning to share at:
Metamorphasis MondayTime To Sparkle Tuesday Linky Party; Trash to Treasure; The Power of Paint Party; Wildly Original Linky Party; Transformation Thursday; What have you redone?; Shabbilicious Friday; Start at Home Paint Party; Funky Junk Interiors' Party Junk. 

Thursday, June 13, 2013

Outdoor Solar Chandelier

I had a metal chandelier that held candles for a long time. I was always going to do something with it, but I wasn't sure what. One day, I stopped by the Dollar Tree (love that store) and found some bright solar lights. Then it hit me, why not use those for the chandelier and make it an outdoor one?

My supplies:


I sprayed the chandelier with lime green Rust-Oleum paint. (sorry, missed the action of this one.)

Then I popped the ends off the solar lights like so:


The ends didn't quite fit into the candle cups so I used regular plain old fun tack to get them to stay in there. I could've glued them, but I wanted the option to change them out or even used regular candles in it someday.


And here it is hanging up:


Here's the best picture I could get of it all lit up at night:


Not the clearest pic, I know, but that's the best I could do without a flash to distort the whole shebang.
Don't settle for dull, live a refinished life!

*Planning to share at:
Metamorphasis MondayTime To Sparkle Tuesday Linky Party; Trash to Treasure; The Power of Paint Party; Wildly Original Linky Party; Transformation Thursday; What have you redone?; Shabbilicious Friday; Start at Home Paint Party; Funky Junk Interiors' Party Junk.