Tuesday, July 30, 2013

Stool for the Bathroom


This is another small project I did in prepping my house for last weekend. I wanted a stool for the bathroom for the smaller kids (including mine) so they could reach the sink to wash their hands. I had a blank wooden stool kit and this is what I did with it:


I spray painted the top lime green and the legs gray. The flowers are reflective vinyl wall clings I found at the dollar store. I'll update this with a picture of the stool in my bathroom with the matching goods.

Don't settle for dull, live a refinished life! 

*Planning to share at:
Metamorphasis Monday; Give Me the Goods Monday; Time To Sparkle Tuesday Linky Party; Trash to Treasure; The Power of Paint Party; Wildly Original Linky Party; Transformation Thursday; What have you redone?; Shabbilicious Friday; Start at Home Paint Party; Funky Junk Interiors' Party Junk. 

Friday, July 26, 2013

Outdoor Bar Cart

I'm still cleaning like a mad woman for the company coming tomorrow. This one is the biggest and most exciting I've been working on for the occasion.

I got a cart on wheels at an auction a long, long time ago that was just waiting for some love. The sides are brass. The top, back and bottom shelf are all press board. I thought the brass would look nice with coral paint, and I was right! I didn't take any in progress pics, but here's the finished project:


I ran out of coral spray paint (only bought one can and that press board sure soaked it up!).So I decided to pair it with a gray stripe on the bottom.

I added a brass wine glass rail I found on Amazon to hold my plastic (outdoor) wine glasses.


I thought the brass ice bucket and glass decanters finish the look quite nicely. I'll have to take a picture of it all decked out this weekend for the party.


I'd almost forgotten I had the coral martini shaker until I was digging for bar accessories. It matches so well!
This project took a little longer than some of the other spruce up ones, but all in all, I think the effect was worth it.

Don't settle for dull, live a refinished life!

*Planning to share at:
Metamorphasis Monday; Give Me the Goods Monday; Time To Sparkle Tuesday Linky Party; Trash to Treasure; The Power of Paint Party; Wildly Original Linky Party; Transformation Thursday; What have you redone?; Shabbilicious Friday; Start at Home Paint Party; Funky Junk Interiors' Party Junk; Clever Chicks Blog Hop

Friday, July 19, 2013

Rocker Chair Cover

This is one of my "spruce up the house for company in a week" projects. This rocker in my living room had ugly, and I do mean ugly green corduroy on the cushions.

Here's the ugly:


And here's the pretty: (or at least the not so ugly anymore.)


I used a curtain I got at the thrift store for a dollar. The sewing was pretty easy, I just measured the cushions and winged it a little. The back is just a rectangle sewed in half. For the bottom, I traced the shape of the cushion and added a bit for seam allowance. I cut two of those and then a strip to go around the side and sewed it all together.

I wish there was time to do my whole couch this way. *sigh* Stay tuned for other projects throughout next week.

Don't settle for dull, live a refinished life!

Thursday, July 18, 2013

Wedding Gift Reprised

Remember this post where I took an old print and made a wedding gift? I have two more weddings coming up, so time for more projects!  I bought this print at a thrift store, complete with Kmart sticker still on the back.


I cut letters with my Cricut out of contact paper. This time before I put them on, I sprayed a light coat of clear sealer over the print. Last time I did this project, the print was glossy. This time it was a light paper and I wanted to be sure I could peel the letters off.

I painted the print, peeled off the letters, painted the frame, and put it all back together. Here's the final result:


I love how it turned out this time! Last time, the colors of the print were more subtle, this time they are bright and fun. Perfect for the couple I am planing on giving this to.

I have lots of projects I will be posting in the next week. We are planning on having a big family get together at my house in less than two weeks. I am sprucing up like a mad women before that happens.

Don't settle for dull, live a refinished life!

*Planning to share at:
Metamorphasis Monday; Time To Sparkle Tuesday Linky Party; Trash to Treasure; The Power of Paint Party; Wildly Original Linky Party; Transformation Thursday; What have you redone?; Shabbilicious Friday; Start at Home Paint Party; Funky Junk Interiors' Party Junk. 

Wednesday, June 19, 2013

More Outdoor Decor

I've been focusing on sprucing up the deck area lately. I found these at a garage sale recently:


They were originally gold plastic. Someone had already painted them white, but I decided they needed some brightening up. I painted them the same lime green I painted my solar chandelier. 


Here they are on my wall. I thought they looked nice on either side of this planter. 

Don't settle for dull, live a refinished life!

*Planning to share at:
Metamorphasis Monday; Time To Sparkle Tuesday Linky Party; Trash to Treasure; The Power of Paint Party; Wildly Original Linky Party; Transformation Thursday; What have you redone?; Shabbilicious Friday; Start at Home Paint Party; Funky Junk Interiors' Party Junk. 

Monday, June 17, 2013

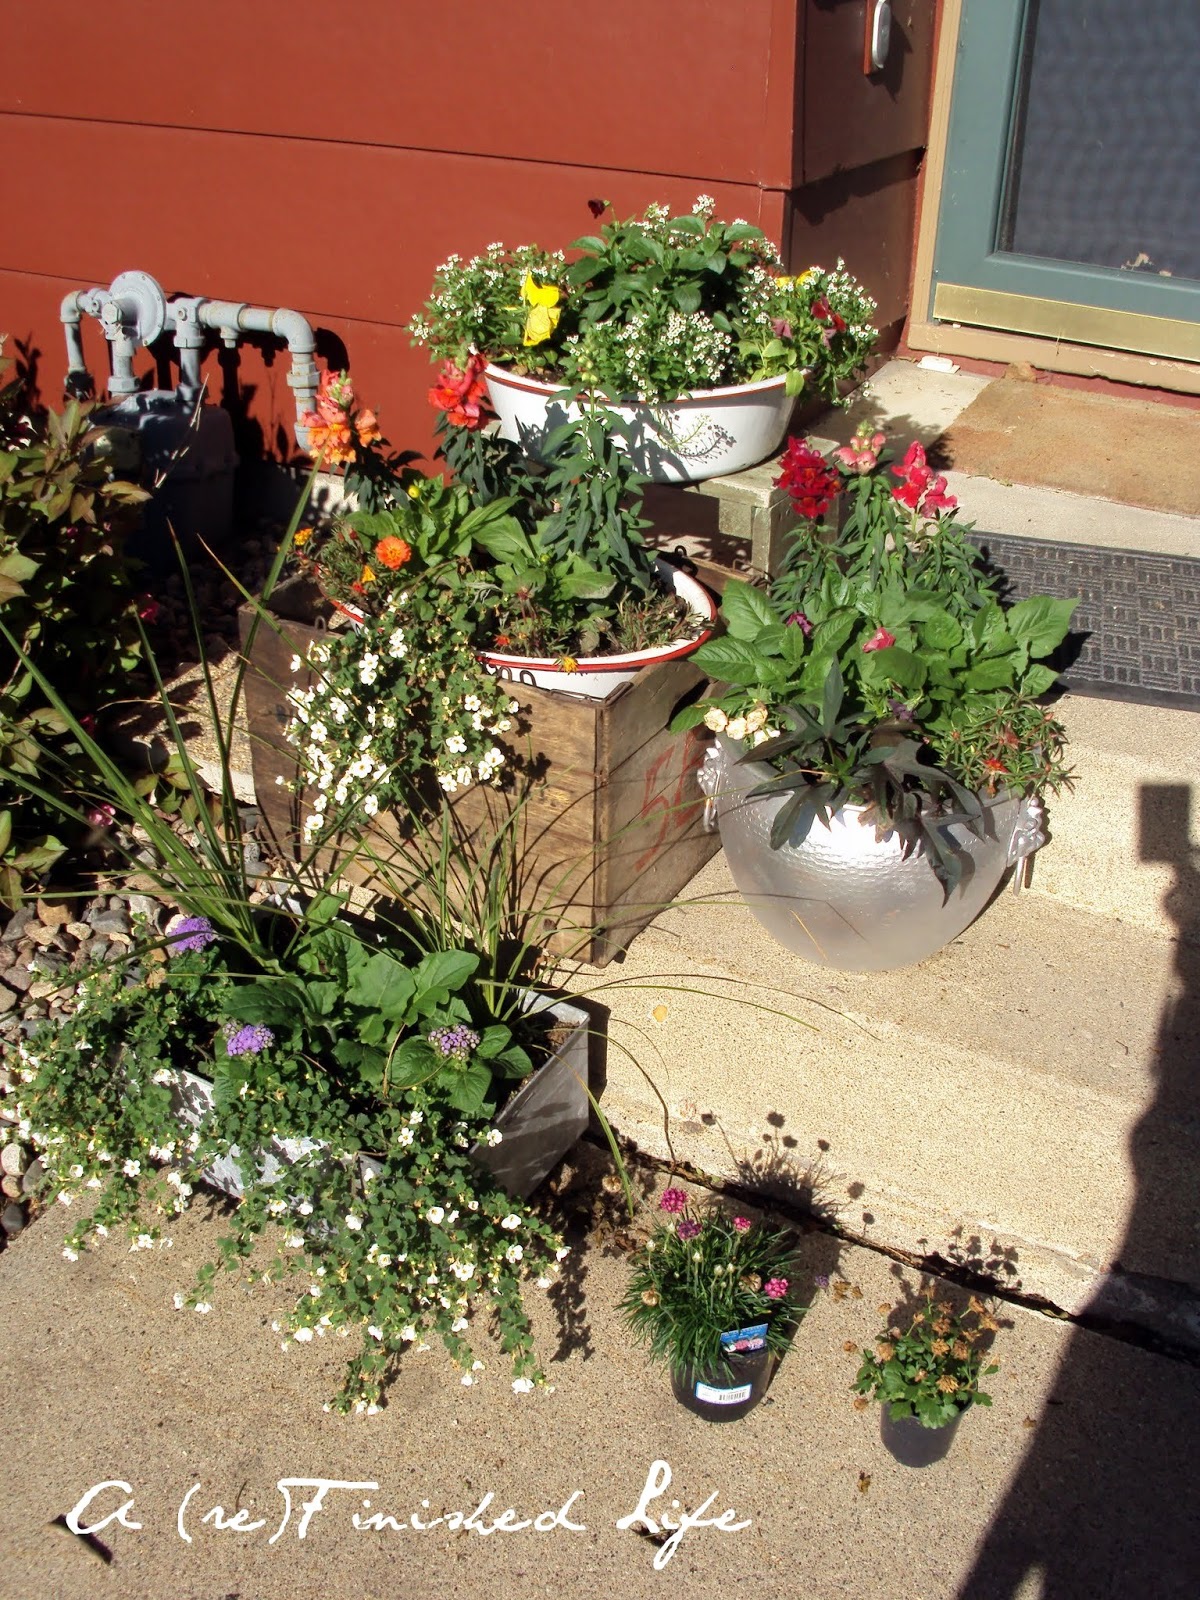
How Does Your Garden Grow?

I showed you my plantings here, but I thought I would give an update on what some of them look like now.

My wine barrel:


I rearranged the front steps a little and added a fun old crate:


The flowers have been filling out nicely now that sun has been finally shining!

Don't settle for dull, live a refinished life!

Thursday, June 13, 2013

Outdoor Solar Chandelier

I had a metal chandelier that held candles for a long time. I was always going to do something with it, but I wasn't sure what. One day, I stopped by the Dollar Tree (love that store) and found some bright solar lights. Then it hit me, why not use those for the chandelier and make it an outdoor one?

My supplies:


I sprayed the chandelier with lime green Rust-Oleum paint. (sorry, missed the action of this one.)

Then I popped the ends off the solar lights like so:


The ends didn't quite fit into the candle cups so I used regular plain old fun tack to get them to stay in there. I could've glued them, but I wanted the option to change them out or even used regular candles in it someday.


And here it is hanging up:


Here's the best picture I could get of it all lit up at night:


Not the clearest pic, I know, but that's the best I could do without a flash to distort the whole shebang.
Don't settle for dull, live a refinished life!

*Planning to share at:
Metamorphasis Monday; Time To Sparkle Tuesday Linky Party; Trash to Treasure; The Power of Paint Party; Wildly Original Linky Party; Transformation Thursday; What have you redone?; Shabbilicious Friday; Start at Home Paint Party; Funky Junk Interiors' Party Junk.